
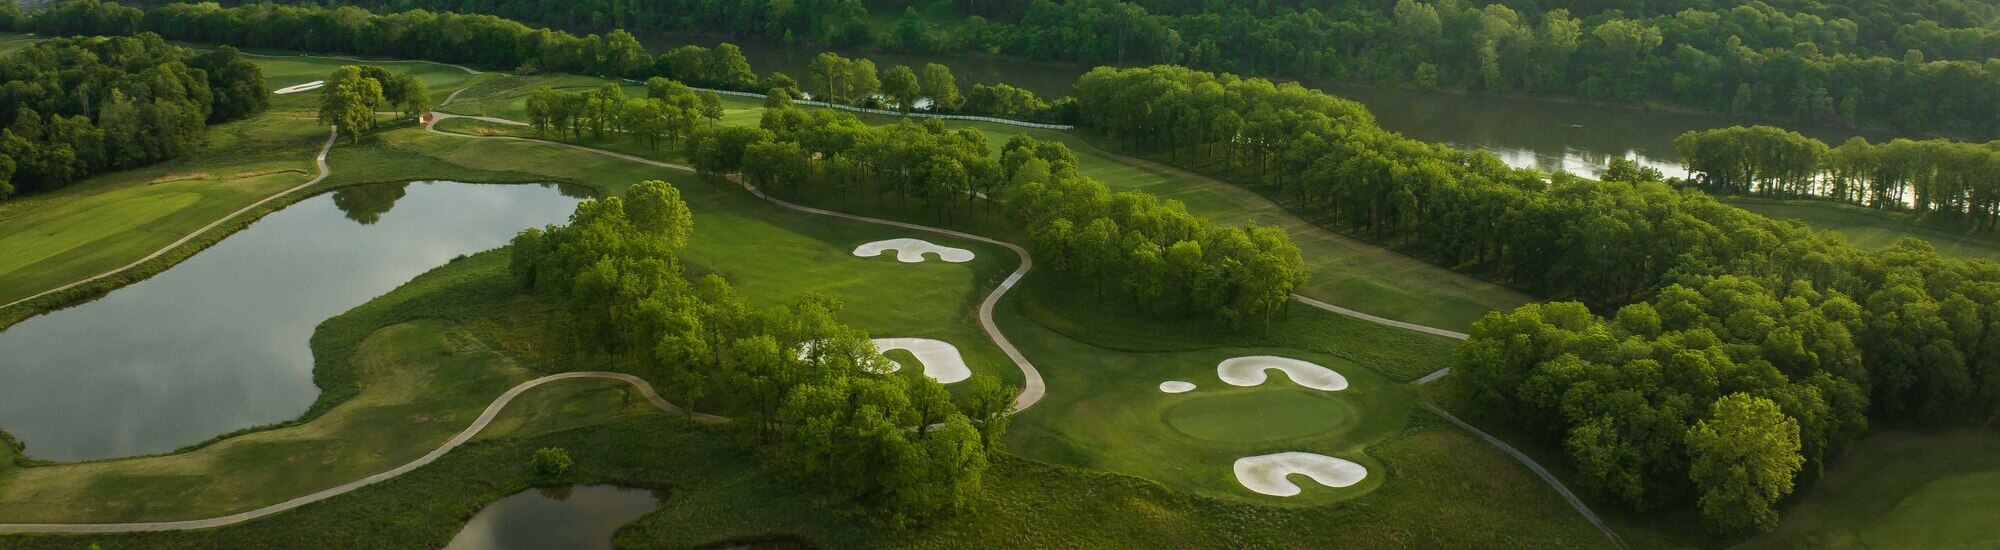
Hole 1
Par 4
Handicap 18
A welcoming opening hole that encourages confidence off the tee while offering a subtle reminder that accuracy matters. Favor the proper side of the fairway to set up your best angle into the green and start your round on the right foot.
Hole 2
Par 5
Handicap 2
The challenge begins to build as the fairway rewards a well-placed tee shot over sheer distance. Thoughtful club selection on the approach can make the difference between an early birdie chance and a difficult two-putt.
Hole 3
Par 3
Handicap 14
One of the course’s most picturesque holes combines natural beauty with strategic bunkering. A confident swing and precise distance control are the keys to walking away with par.
Hole 4
Par 4
Handicap 16
This par 5 offers players their first real scoring opportunity, but every shot requires careful planning. Decide early whether to attack in two or rely on smart course management for a comfortable birdie chance.
Hole 5
Par 4
Handicap 6
Position is everything here. A tee shot placed in the right section of the fairway opens up a much more forgiving approach to a well-protected green.
Hole 6
Par 4
Handicap 12
A memorable par 3 where club selection is critical. Trust your yardage, commit to the shot, and enjoy one of the most scenic views on the course.
Hole 7
Par 3
Handicap 10
Risk and reward come together beautifully on this challenging hole. Longer hitters may be tempted to be aggressive, but precision is often rewarded more than power.
Hole 8
Par 5
Handicap 4
This hole demands patience from tee to green. Staying in position avoids unnecessary trouble and creates an excellent opportunity to carry momentum into the turn.
Hole 9
Par 4
Handicap 8
A strong finishing hole to the front nine that asks for two quality shots. The approach rewards confidence while offering a preview of the exciting finish still to come.
Hole 10
Par 4
Handicap 15
The back nine begins with an inviting tee shot before gradually revealing its strategic demands. Playing to the correct side of the fairway creates a significant advantage.
Hole 11
Par 4
Handicap 3
Natural contours and thoughtful design combine to make this one of the course’s most enjoyable holes. Distance control on the approach is essential to finding the right section of the green.
Hole 12
Par 3
Handicap 13
This par 5 tempts players with another birdie opportunity, but only if every shot is executed with discipline. Smart decisions often outperform bold ones here.
Hole 13
Par 4
Handicap 1
A beautiful hole where precision takes center stage. Missing in the right place is far better than chasing a difficult recovery around the green.
Hole 14
Par 5
Handicap 5
One of the most visually striking holes on the property. Players willing to commit to their strategy are rewarded with one of the most satisfying approaches on the course.
Hole 15
Par 3
Handicap 11
The challenge continues with a demanding tee shot that rewards accuracy over distance. A conservative game plan often leads to the best score.
Hole 16
Par 4
Handicap 9
An outstanding closing stretch begins here. Every shot becomes increasingly important as players navigate one of the course’s most memorable holes.
Hole 17
Par 4
Handicap 17
A dramatic par 3 that often plays differently than the yardage suggests. Commit to your club selection and enjoy one of the signature moments of the round.
Hole 18
Par 5
Handicap 7
An unforgettable finishing hole worthy of a championship venue. Whether you’re protecting a score or chasing one, it provides the perfect conclusion to the President’s Reserve experience.